Articel Details
Super Glue Guide: Don't Let "Fast" Become "Regret" – These Tips You Must Know
Super glue not holding? 90% of the time it's poor surface prep. Master 5 key tips: clean surfaces, thin layers, proper temperature & humidity, correct application, and sealed storage. Avoid 3 common m
11-08-26

Super Glue Guide: Don't Let "Fast" Become "Regret" – These Tips You Must Know
Have you ever had this experience?
You buy super glue, expecting it to "bond in seconds," but instead it ends up crooked, or worse—you glue your fingers together? Or the item you just fixed falls apart again after a few days, as if you never glued it at all?
The truth is, most of the time it's not the glue that's faulty—it's how we use it.
Super glue's "fast" nature is definitely its charm, but that speed comes with its own set of rules. Today, let's skip the complicated manuals and break down the key points of using super glue, plain and simple.
Step 1: 90% of Bonding Strength Comes from "Surface Prep"
Many people just squeeze the glue on and call it a day. Then they wonder why it doesn't hold.
The problem isn't the glue—it's that invisible layer of interference: dust, oil, rust, or even the natural oils from your fingers. These are super glue's worst enemies.
The Right Way:
Use a dry cloth or sandpaper to remove dust, oil, rust, and other contaminants from the bonding surfaces.
Wipe the surface again with a cleaner like acetone or trichloroethylene.
Don't skip this step. Getting it right can at least double your bond strength. Simply put: glue sticks to "clean surfaces," not "dirty objects."
Step 2: More Glue ≠ Stronger Bond – Thin Layers Win
Many people assume: squeeze on more glue, and it'll hold tighter.
Actually, the opposite is true.
Super glue cures through a polymerization reaction triggered by moisture in the air. If the glue layer is too thick, the inner portion can't get enough moisture to cure properly, which weakens the bond significantly.
The Right Way: Use just enough glue to cover the surface—the thinner the layer, the stronger the bond. One drop, or even half a drop, is often sufficient.
Remember this: With super glue, precision matters more than quantity.
Step 3: Wrong Environment = Wasted Effort
Super glue is picky about its surroundings.
Temperature: 20–30°C (68–86°F) is the sweet spot. Too cold, and curing slows down; too hot, and performance may suffer.
Humidity: 50–60% relative humidity is ideal. Too dry, and curing is sluggish; above 70%, you'll likely see the dreaded "blooming" effect—a white, hazy residue around the bond area that ruins the appearance.
If you're using it during a humid summer day, make sure there's good ventilation, or consider a low-bloom formula super glue.
Step 4: Application Technique – The Devil in the Details
Don't underestimate the "squeezing" part.
Some practical tips:
After opening the cap, if there's any dried glue at the nozzle, wipe it clean with a cloth before attaching a needle tip or PE dispenser. This gives you precise flow control—no more "oops, half the tube just came out."
Apply one small drop to the surface, then immediately press the two parts together and hold until cured. Don't hesitate—super glue really is that fast.
Curing time ranges from seconds to a few minutes, depending on the material and the specific glue formula. For example, PP-specific glue takes about 30 minutes to reach practical strength, but full maximum strength takes 24 hours—so don't rush to "test" it right away.
Step 5: Seal It Right, Save Money and Hassle
What's the biggest enemy of super glue? Moisture.
After each use, always wipe the nozzle clean and tightly seal the cap. Otherwise, by the time you reach for it next time, the whole bottle may have turned into a solid lump—money down the drain.
Storage also matters: cool, dry, and away from sunlight. Don't leave it on a windowsill or in a damp bathroom.
A Few Final Thoughts
The truth is, every adhesive has its own "personality" – some hate heat, some aren't water-resistant, and some simply don't work on certain materials.
Taking just two minutes to understand its quirks before using it is far better than regretting a failed bond later.
Hopefully, this guide helps you avoid a few common pitfalls. Next time you reach for super glue, remember these four pillars: clean surface, thin layer, proper environment, and sealed storage – get these right, and you're 90% there.
If you've ever had a "super glue disaster" story, or have your own go-to tips, feel free to share in the comments. You never know—your experience might just save someone else from gluing their fingers together. 😄
Recent Blog Here
Related Articles
Articel
The Complete Guide to Two-Component Adhesives: From Principles to Dispensing
All the Lorem Ipsum generators on the Internet tend to repeat predefined chunks.

Articel
How Does Non-Standard Automation Revolutionize Adhesive Applications? — WEFILL's Future of Precision, Efficiency, and Intelligence
All the Lorem Ipsum generators on the Internet tend to repeat predefined chunks.

Articel
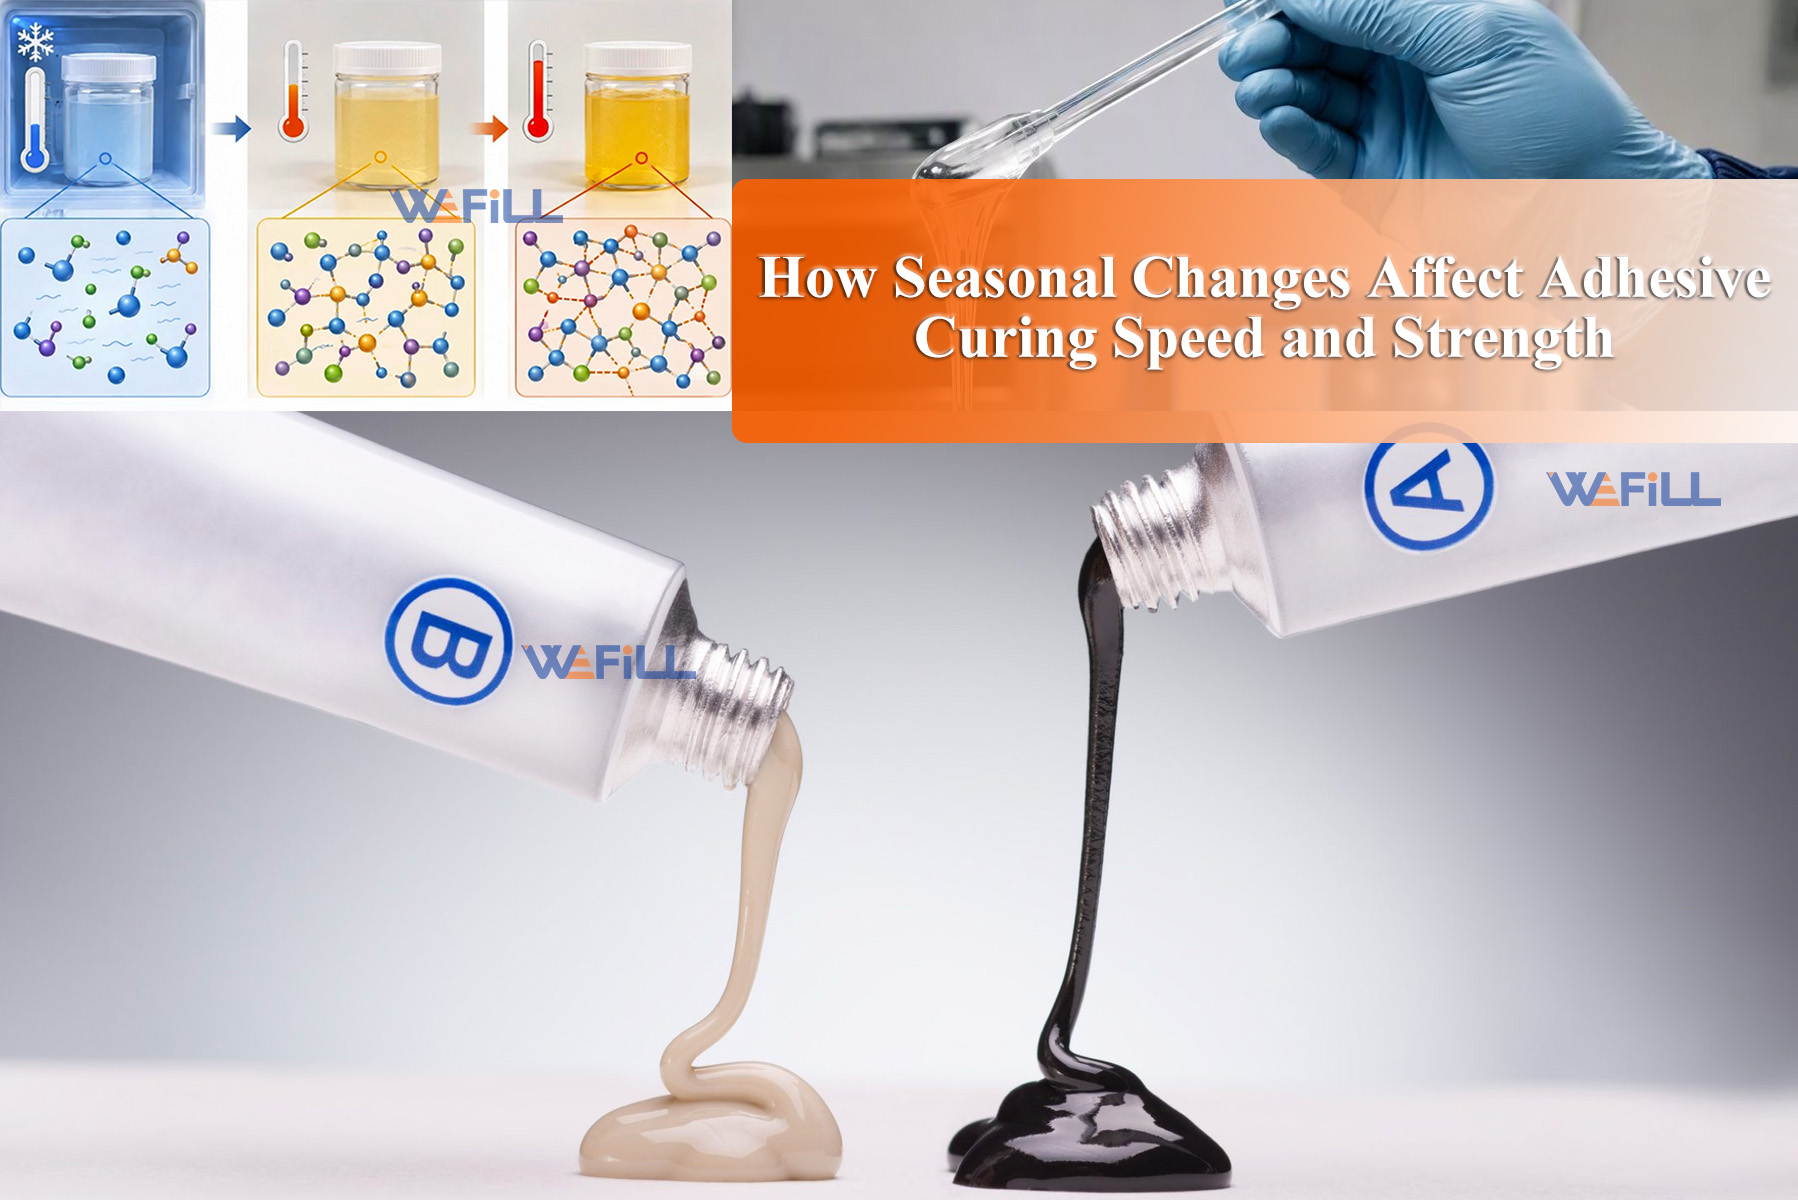
How Seasonal Changes Affect Adhesive Curing Speed and Strength
All the Lorem Ipsum generators on the Internet tend to repeat predefined chunks.
Articel
Large Platen AB Two-Component Adhesive Filling & Capping Machine: An Efficient and Precise Industrial Innovation
All the Lorem Ipsum generators on the Internet tend to repeat predefined chunks.

Articel
High-Performance Polyurethane Adhesives | Strength, Toughness & Sustainable Bonding Solutions
All the Lorem Ipsum generators on the Internet tend to repeat predefined chunks.